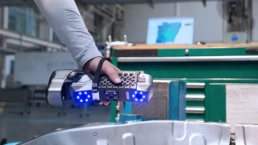
Vehicle design, manufacturing and after market product development rely heavily on accurate dimensional data to complete their projects on time.
The industry has been using 3D scanning extensively for a number of years as a powerful method for gaining high quality and accurate 3D surface data.
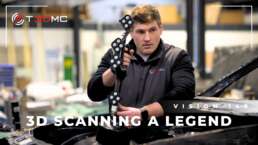
Here at The 3D Measurement Company, we have worked in the field of 3D measurement for nearly 10 years and have been involved in a wide variety of application uses for 3D scanning within the automotive industry, however, the uses are largely centered around three key areas: benchmarking, aftermarket product development and quality assurance and control.
So, how is 3D data used?
Benchmarking with 3D Scan Data
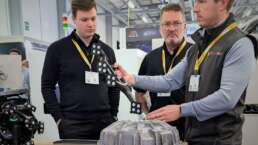
Our team works closely with customers who require comparative scan data of particular vehicles for benchmarking purposes. Benchmarking is a structured comparison between similar products (such as car components or bodywork), and it can also help with a focus on performance. The data we capture can provide key insights to automotive manufacturers, enabling them to optimise design and materials, identify critical opportunities for improvements and enhance value-engineering results. 3D surface is at the heart of effective benchmarking and plays a pivotal role in cataloguing exterior surfaces and subcomponents during product tear down.

Accurate 3D Scanning Made Possible
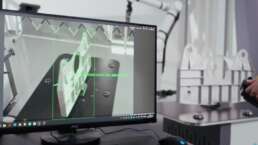
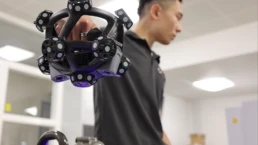
The 3D laser scanning systems available through ScanTech, allow for easy and accurate capture of parts large and small with the ability to capture even the most challenging shiny surfaces like chrome and gloss black without the need for mattifying spray. With the technology now available, 3D scanning automotive data can be captured quickly and easily allowing design engineers to carry out their tasks with more comprehensive datasets than ever before.
Aftermarket Product Development
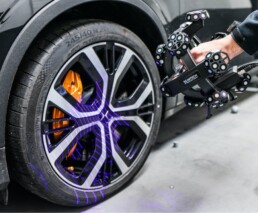
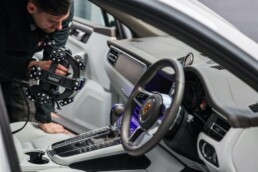
Whether for interiors or exteriors of vehicles, 3D scanning for automotive aftermarket product development offers huge advantages. Applications include developing body kits for retrofit, vehicle protective films/wraps, fit outs of van interiors or development of accessories for use within the dashboard of a vehicle, automotive 3D scan data is a powerful tool to speed these processes up and offer greater accuracy. 3D surface data allows designers to create concepts with greater accuracy and confidence, thanks to the utilisation of reverse engineering software like SolidWorks and GeoMagic Design X, which allows for 3D scan data to be turned into CAD data for modelling purposes. Once a design is finalised, it can then be printed out and trialled meaning the R&D process can be reduced, in some cases, to just a few days rather than a few weeks.
The process of reverse engineering surfaces from 3D scan data also results in a reduction of waste as designs are mechanically correct the first time.
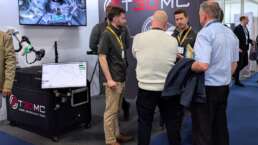
T3DMC offer a full suite of services to help with 3D scanning, data processing, reverse engineering and prototyping through 3D printing and fabrication to give our customers a one stop solution for the full design project.
Quality Assurance and Control
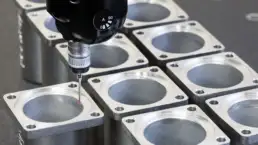
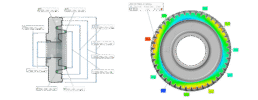
When it comes to assessing manufacturing and part performance there are few tools more transformative than 3D scanning equipment. Portable 3D scanning systems offered within the ScanTech range, in particular KSCAN, SIMSCAN and Trackscan allow quality and manufacturing engineers to complete full surface measurements of their parts and compare back to CAD and to dimensioned drawings. This delivers full colour plots of deviation to CAD whilst also being able to capture details such as hole diameters and position, trim analysis, surface profile analysis and form inspection.
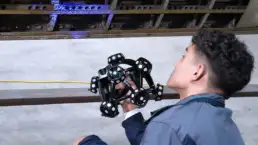
Due to the portable nature of handheld 3D scanning equipment measurements can be completed almost anywhere, giving engineers the flexibility to complete metrology level measurements on the go. This could be at a customer site, a supplier site or even at the machine side to inspect parts during the manufacturing process, rather than waiting for long periods of time for a CMM to complete the measurement remotely in the designated inspection room.
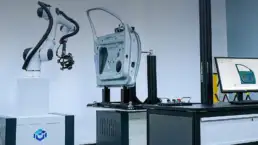
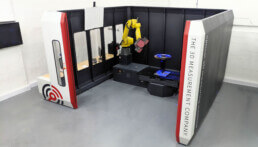
For customers who wish to inspect batches of parts to look at statistical process control, T3DMC are able to use a fully automated measurement set up within a temperature stable measurement lab in the Midlands where fixtures and optimised measurement programs are used to remove nearly all variables from the measurement process and give the most accurate scanning process possible. This results in full SPC reports for features, but also critically, for full surface analysis to understand how the whole part has performed, rather than just analysis of single key features which can allow for errors to go unnoticed.
Need help with your automotive design project?
T3DMC have extensive experience in the 3D measurement world; whether you are interested in a 3D laser scanning solution for in-house use, or whether you are looking for support and consultancy from our technical team at your site or ours, we will be able to build a solution around your needs that will work for you and your project.
To speak to an expert, please call our team on 01746 762251 or email us at info@t3dmc.com.
Other news articles

