Quality & Inspection Service
2D or 3D, whatever your needs are, we will cater for them with our extensive range of analysis tools in our quality and inspection service.
What Challenges Can We Help You To Overcome?
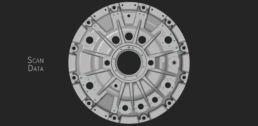
T3DMC are specialists in utilising 3D scanning data for quality and inspection. We can rapidly analyse your parts for quality control purposes using our extensive range of industry-leading software.
Quality and Inspection can help with:
Reporting for first article inspection:
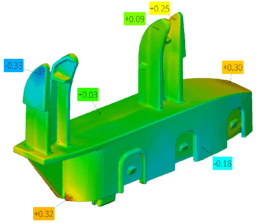
Inspection back to a technical drawing based on datum driven section views. Full surface 3D colour plots of component deviation to CAD geometry
Understanding the influence of a datum system for your component using multiple alignments such as global best fit to understand how the datum features are performing
Point based inspection to verify measurements back to a CMM
Surface defect analysis to better understand the effect of a manufacturing process or wear and tear of a component during use
Increase overall process safety with a fully automated inspection process and full traceability
2D Inspection
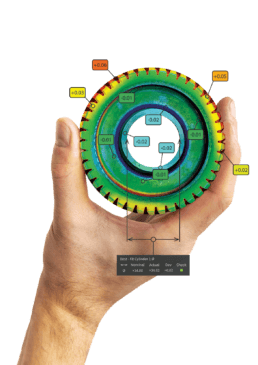
The use of 3D data allows us to easily create datum systems that accurately construct section cuts as per a customer's technical requirement. These sectional views are then used to call out precise dimensional inspections exactly as they appear on the drawing.
Get a Quote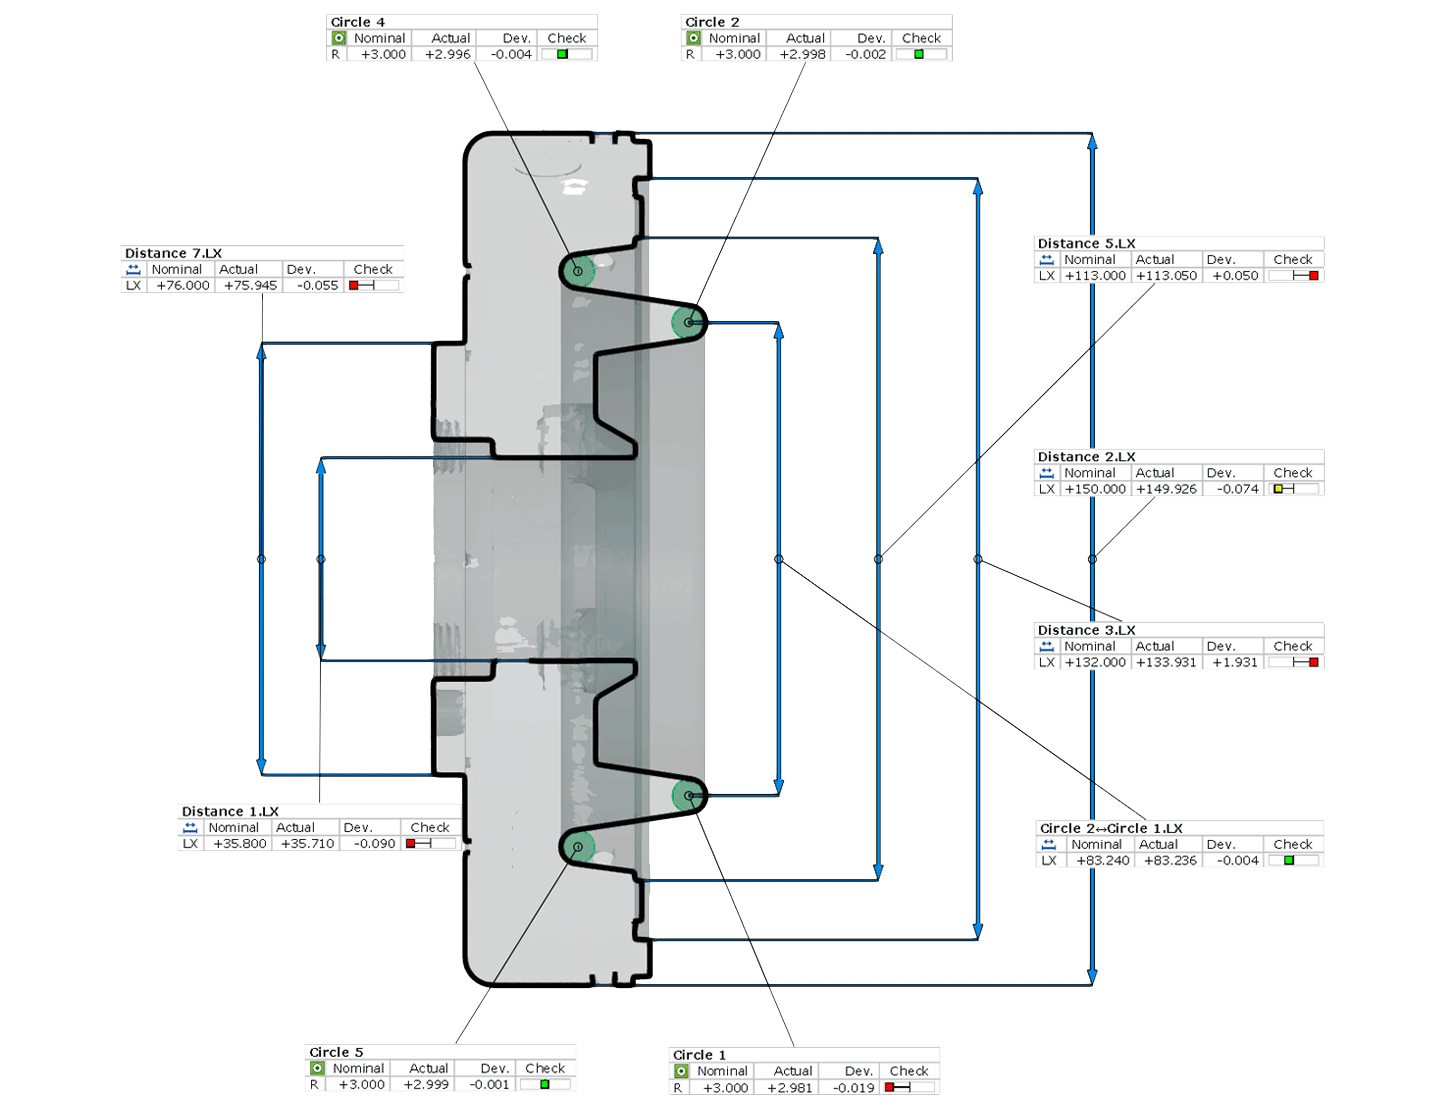
3D Inspection
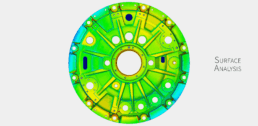
3D inspection techniques allow us to fully utilise the power of 3D data. Using full surface data allows us to inspect and understand complex 3D shapes with ease. Surface deviation analysis, surface profile mapping and other complex GD&T can all be reported using easy to understand colour plots across the entire surface of a component or assembly.
Get a Quote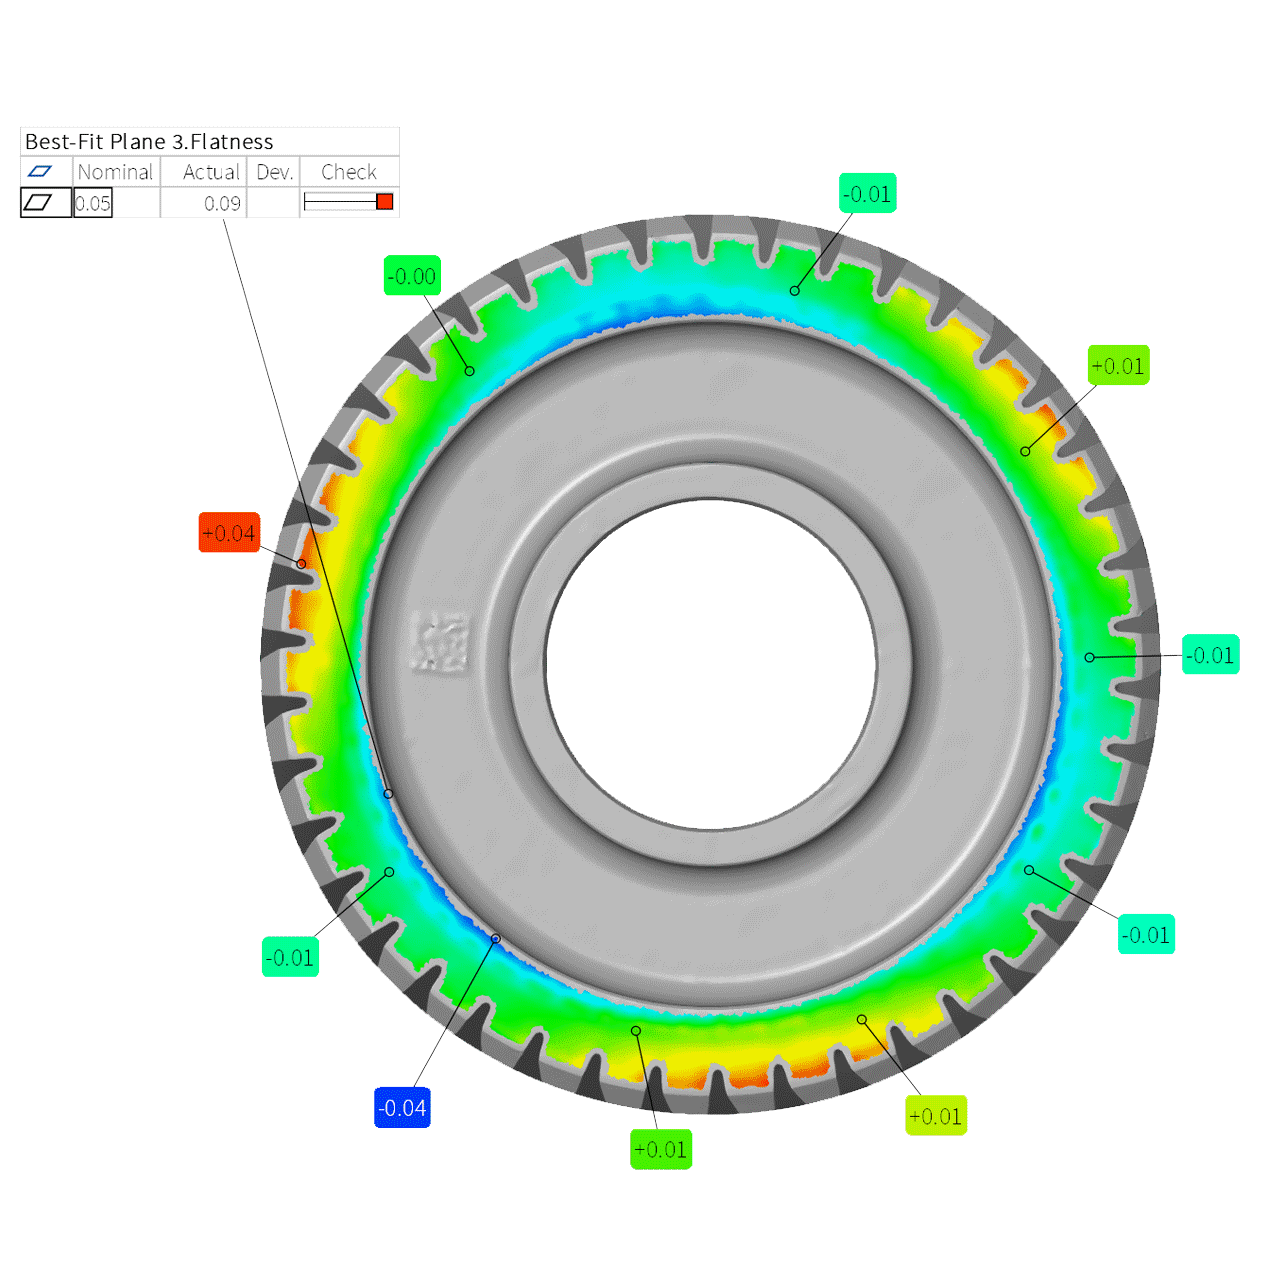
Airfoil Inspection
Our advanced measurement capabilities allow us to accurately create a ‘digital twin’ of an aircraft part. Combining this 3D data with software which has specific inspections for the aerospace industry we are able to produce thorough inspection of turbine blades, fan blades and blisks throughout their life cycle...
Get a Quote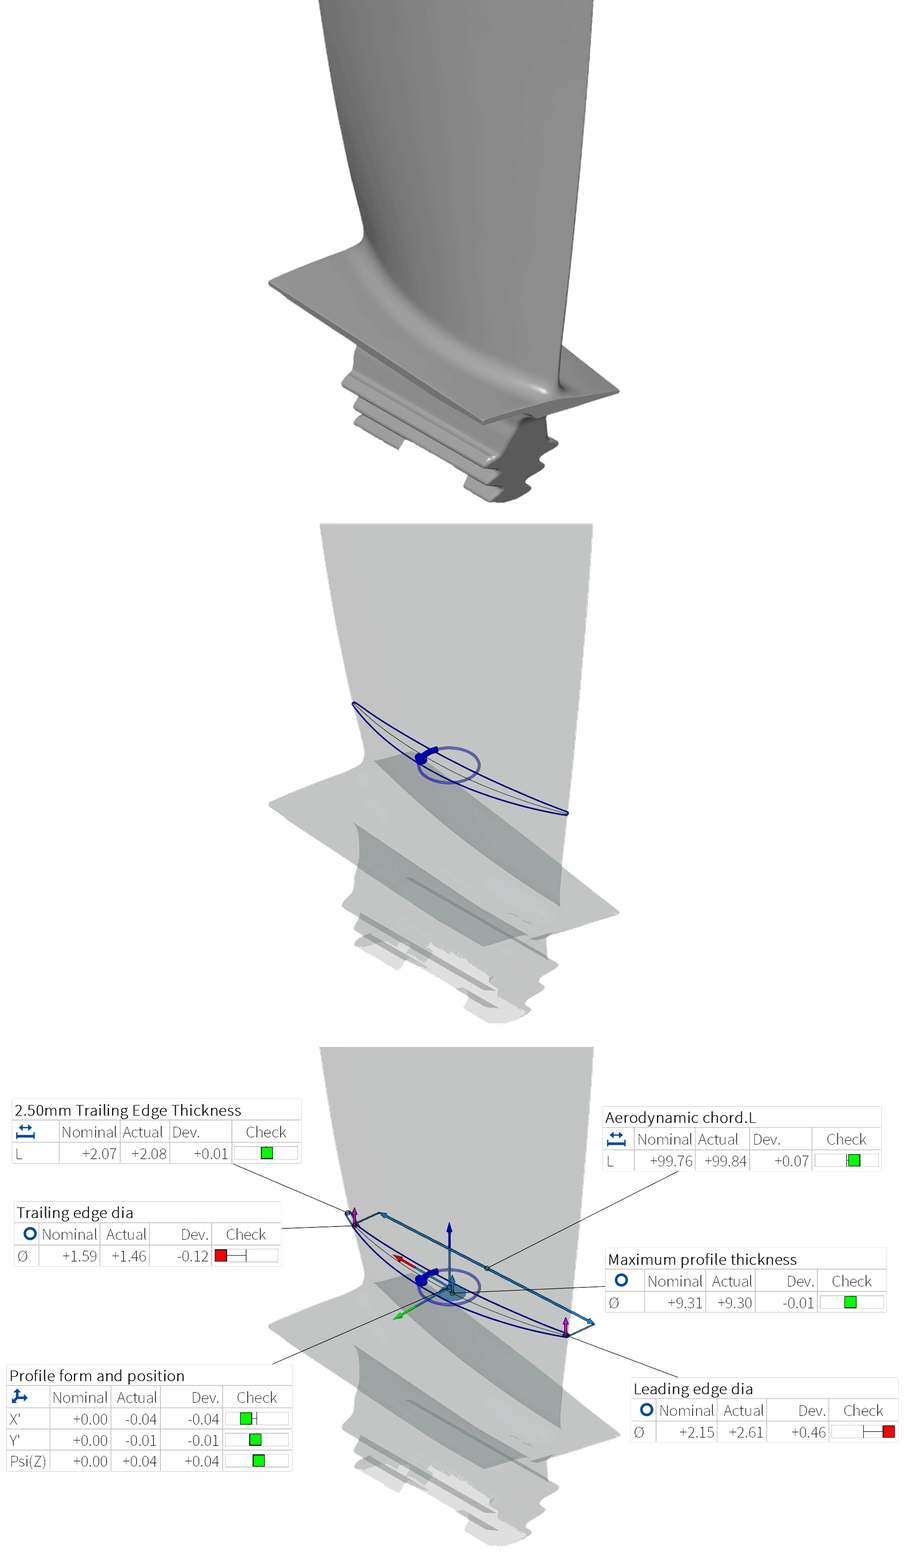
Trend & SPC Analysis
The repeatable capture of accurate 3D scan data enables a trend analysis as part of statistical process control (SPC). Our team can help produce full-field evaluation of several parts or stages within a single project as a first batch analysis or over a life cycle of a component...
Get a Quote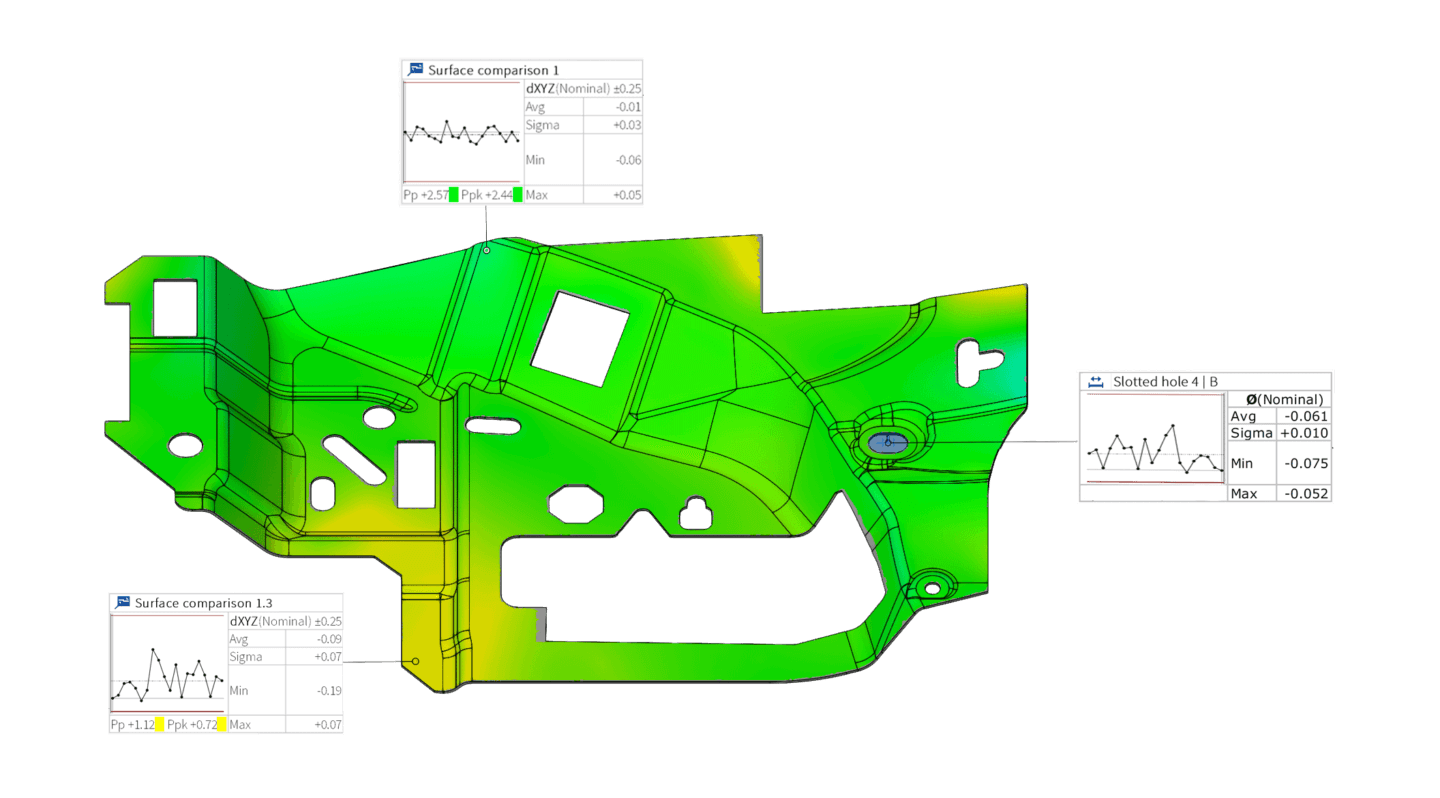
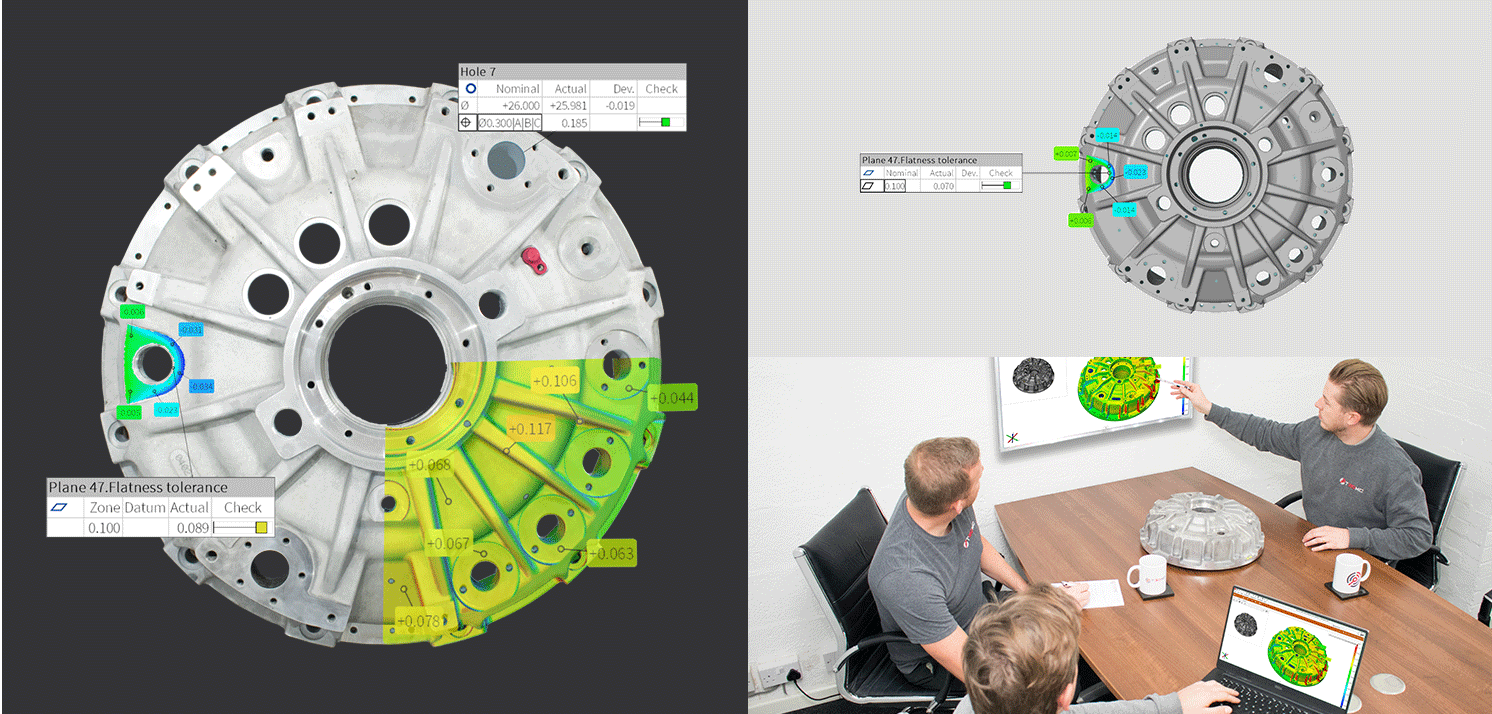
Our team of quality and inspection engineers will work with you to achieve the desired result.
Whether its inspection to drawing for a single component or a in-depth analysis against CAD for a full batch of manufactured components, we have the metrology equipment and experience to deliver results to the highest levels of accuracy, both quickly and reliably.
